Thursday, October 4, 2012

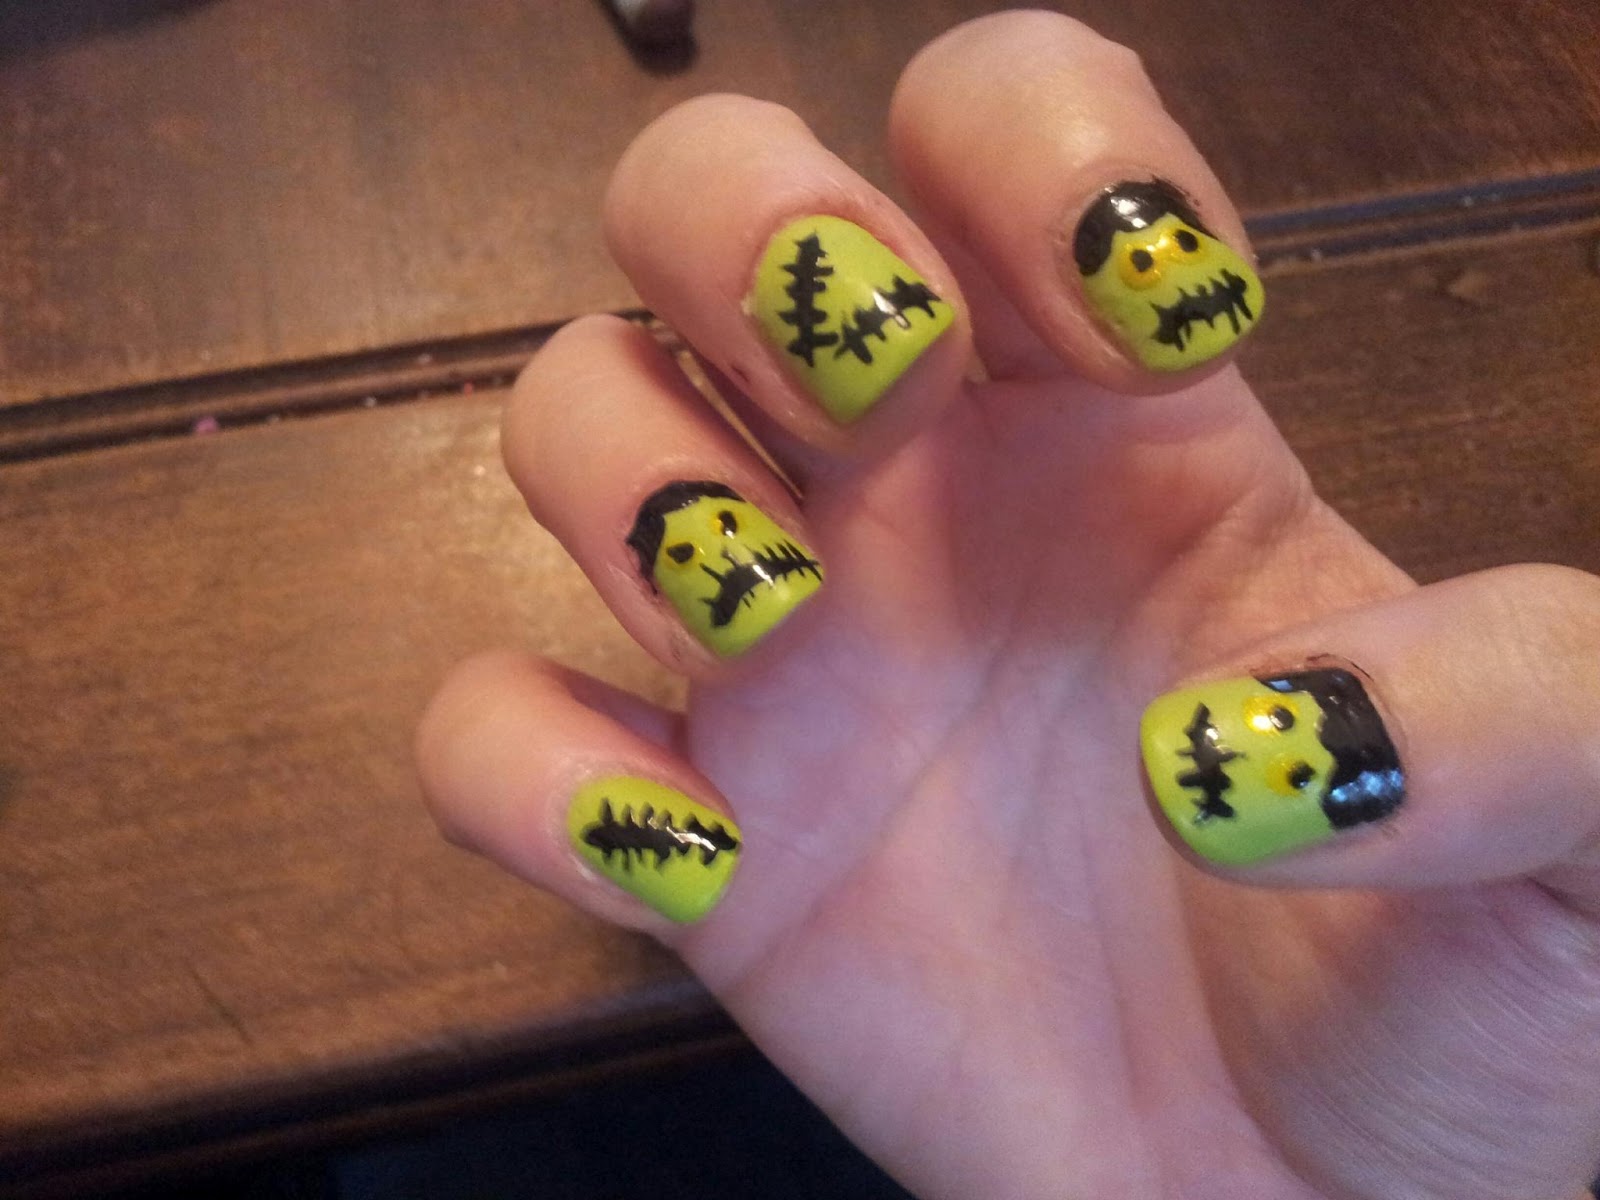
Day 6 Frankenstein nails

Here are my Frankenstein Nails for this challenge:


My daughter didn't like them.


Check out all of the NailAween Nail Art Artists!

datyorkLOVES

Day 5 Ghosts and Goblins

Here is my Ghosts and Goblins manicure.  I think it came out really cute!


And you might be asking "What is the deal with the glitter pinky finger?"

Well...sadly, I couldn't figure out a good way to portray a Goblin on my finger nail without using decals.  So...I used a play on words.  I have China Glaze's Glitter Goblin.  :D  I have titled this manicure: Ghosts and Glitter Goblin.  :D

And yes, it glows in the dark...but I haven't been able to capture that.  Sigh.  I am going to try another glow in the dark mani in the future and I will try to get the photos then.  My ghostie mani started to come off, so I decided I would do a take two later in the month.


Check out all of the NailAween Nail Art Artists!

datyorkLOVES

Day 4 Mummy Nails

Here is my Mummy Manicure.  I think it is cute...my daughter?  Not so much...


Came out pretty good, didn't they?  Dontcha just love the different colors of eyes?


Check out all of the NailAween Nail Art Artists!

datyorkLOVES

Monday, October 1, 2012

Day 3 Bloody Nails


All I can say is wow...for all it looks difficult, it came together rather nicely for me.  It looks like dripping blood.  I started with a pink french manicure and the used SC Ruby Ruby as my "blood".  Came out nice, don't you think?

I could see this in a movie somewhere.  I might also try the other style of bloody nail that I saw--the splattered bloody nail.  More to come...maybe...


Check out all of the NailAween Nail Art Artists!

datyorkLOVES

Day 2 Matte Dotticure

This one didn't turn out as good as I had hoped, but it wasn't bad and and my daughter helped me pick out the colors to use.


The orange nail...well, I painted both colors on, then matted them, then re-dotted with a shy topcoat.  Not the most inspired mani, but here ya go.  :D


Check out all of the NailAween Nail Art Artists!

datyorkLOVES

Sunday, September 30, 2012

Day 1 Water Marble


This one was surprisingly easy.  It's called Water Marble or Water Color nails.  It uses room-temperature water in a plastic cup and drops of polish in the water in a "spreading ring" effect like water rings on the top of still water.  You can use a toothpick to change the lines in the rings of nail polish. You block off the area around your nails, paint your nails your choice of basecoat (I used white) and then dip your fingers (surface down) in the freshly dripped paint on the top of the water.  Then clear away the excess nail polish from the top of the water before removing your finger(s) from the water.

If you want to see a play-by-play tutorial, there are TONS of them on www.youtube.com. I highly recommend looking at the different ones on there for your experience level.


It turned out really neat.  I can see doing something like this for the winter time to make it look like swirling snow or summer to represent rain drops.


Check out all of the NailAween Nail Art Artists!

datyorkLOVES

What it is:

https://www.facebook.com/events/470258799671563/
Nail-Aween Nail Art Challenge will be from October 1-31st.

If you would like to join this challenge email her your blog name and link, its never too late to join! (E-mail: datyorkloves@gmail.com) or just visit her FB event at the link above.

Rules of this challenge:

-Complete it during the month of October, so you have 31 days to do all 10 challenges.

Disclosure: This is a self paced challenge. You will set up your own schedule at your own pace.

WooHoo and Happy Halloween!

*Update. She is taking blogs and FB pages until October 10th


I am particularly looking forward to the pumpkin challenge.  All signed up.  To view my blog about this go to this link:

http://nailaweennachall102012.blogspot.com/

Wish me luck!

Here are all the people participating in this challenge!

Check out all of the NailAween Nail Art Artists!

datyorkLOVES